Preparing the project
Before starting, you need to setup the necessary tools, and prepare the project to properly develop themes.
What you’ll need
Firstly, you’ll need to get the official Godot Editor v4.2.1-stable. Although RetroHub uses a custom version of Godot, the themes can be developed on the official version.
Next, you need a project pre-configured with RetroHub’s settings, such as input keys, addons, etc… For that, we created a bootstrap project, which is a base that can be used for developing any theme. Download retrohub_bootstrap_theme and open it in Godot.
This project starts with many pre-applied configurations for RetroHub, but most notably it has an addon called retrohub-theme-helper. This addon not only exposes RetroHub’s API methods and variables, it also provides various tools to help in theme development.
Configuration
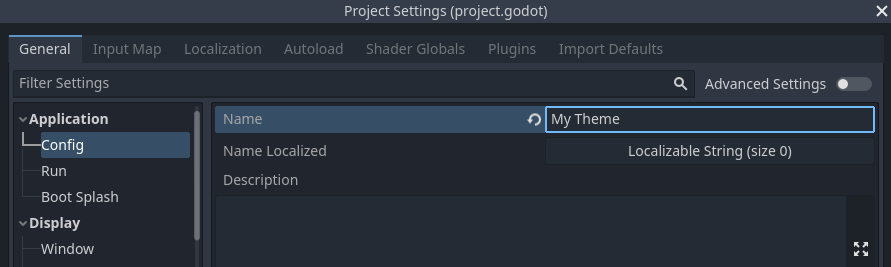
The first time you open the project, it will take some time to import resources. After that, you should change some settings to your liking. Start by setting your project name by going to Project > Project Settings…

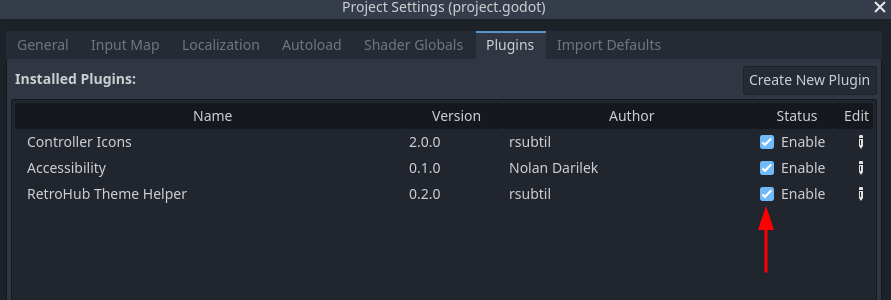
Ensure the
RetroHub Theme Helperis enabled in the Plugins tab.
Close the project settings, and move to the RetroHub tab, next to the FileSystem tab.

- Ensure the Theme tab is selected, and fill the information as follow:
ID: my_first_theme
Name: My First Theme
Description: This is my first theme.
Icon: Load the default
icon.svgAuthor(s): your name
Version: 1.0.0
URL: a personal URL of your choice, or leave the default value
Screenshots: leave empty
Entry Scene: Load the main scene
Theme.tscn

The ID is an identifier for your theme, and should be unique. In this instance it’s not problematic, but in a release theme you’ll need to get a unique ID to distinguish between all themes.
Entry scene is the scene that will be loaded first when the theme is loaded. It’s essentially like setting the main scene when you run your project.
The remaining fields are just information about your theme.
These settings are saved whenever Godot performs a save operation, such as exiting the editor or launching a scene. You can trigger a save at any time with the shortcut Ctrl + S.
All this information is stored in a theme.json file at the root of your project.
Structure
This project starts with a base structure set in place. We recommend following it for this tutorial, but you’re free to structure your project as you prefer.
The main scene is called Theme.tscn. It contains just a scene root, with a Logic.gd script attached. This script connects to plenty of RetroHub signals, and has detailed comments explaining each signal logic.

Your theme should connect to these signals, as these are the mechanism RetroHub uses to present the user’s gaming library to a theme. There’s a lot of content here already, so don’t worry about understanding what they all do. The most important ones are system_received/game_received; these signals together expose the full user’s library, for system and game data respectively. In the next section we will take a better look on how they work.